Table of Contents
- The Fundamental Question: Which Foot Moves First?
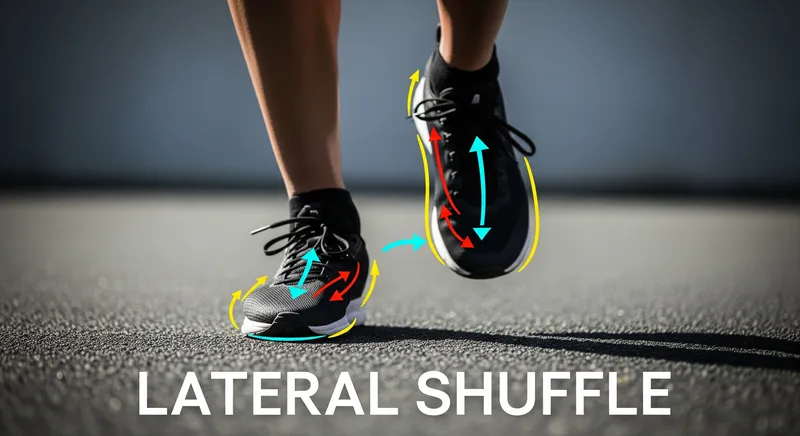
- Technique 1: The Lateral Shuffle (For Agility and Readiness)
- Technique 2: The Crossover Step (For Covering Distance)
- Actionable Drills for a Stronger Foundation
- Key Takeaways for Injury-Free Movement
In any sport that requires agility, the difference between a winning shot and a sidelining injury often comes down to footwork. A common and painful mistake occurs during lateral movement. An athlete might correctly initiate a sideways step but complete it with poor form, leading to missed shots and, more alarmingly, chronic knee pain.
This guide provides a direct, biomechanical breakdown of how to move laterally with efficiency and safety. By mastering these techniques, you can enhance your performance and safeguard your joints for the long term.
The Fundamental Question: Which Foot Moves First?
Let’s address the most common question first. When moving to your right, which foot should you move first?
For a lateral shuffle, the foundational movement for short-distance adjustments, you move your right foot first. However, this is only the beginning of the sequence. True stability and power come from how you use both feet in concert. If your movement ends with a straightened leg and an outstretched reach, your mechanics are flawed, and your knees are paying the price.
There are two primary techniques for lateral movement. Understanding when and how to use each is crucial.
Technique 1: The Lateral Shuffle (For Agility and Readiness)
The shuffle is your go-to for maintaining a ready position, making quick adjustments, and recovering after a shot. It’s designed for balance and the ability to change direction instantly.
How to Execute a Proper Shuffle to the Right:
- Establish Your Athletic Stance: This is the non-negotiable foundation for all athletic movement. Stand with your feet shoulder-width apart, knees bent, and hips low. Your weight should be balanced on the balls of your feet, keeping your back straight and your body ready to move.
- Push, Don’t Pull: The power for the shuffle comes from your back leg. To move right, drive off the inside of your left foot. This push propels your body sideways.
- Lead and Follow: As you push off your left foot, your right foot lifts and moves to the right, planting firmly to halt your momentum. Immediately, your left foot follows, sliding back to re-establish your original athletic stance.
- Maintain Your Base: Crucially, your feet should never touch or cross. Keeping space between your feet ensures you remain balanced and prepared for the next movement.
Why Poor Shuffling Leads to Injury:
The most common error is rising up and reaching with the lead leg. This action locks the knee and sends impact shock directly into the joint instead of allowing your leg and glute muscles to absorb the force. The feeling of being “too short” to reach a shot is often a symptom of being too upright. Staying low actually increases your effective reach and power.
Technique 2: The Crossover Step (For Covering Distance)
When you need to cover more ground quickly, the shuffle is too slow. The crossover step allows you to turn a lateral movement into a short sprint.
How to Execute a Crossover Step to the Right:
- Start in Your Athletic Stance: All powerful movements begin here.
- Pivot and Drive: Pivot on your right foot to open your hips to the right. Drive your left foot across the front of your body, planting it in the direction you intend to move.
- Run: This crossover action puts you into a natural running position. Continue driving with powerful steps to get to the ball.
Use the crossover to get to a distant shot and use the shuffle to make small adjustments and recover your court position.
Actionable Drills for a Stronger Foundation
Integrate these drills into your warm-ups to build muscle memory and strength.
- Resistance Band Walks: Place a resistance band around your ankles. Get into your athletic stance and perform a lateral shuffle for 10-15 steps in each direction. The band forces you to push off with the trail leg and engage crucial hip muscles that stabilize the knee.
- Stay-Low Shadowing: Practice your footwork without a ball. As you shuffle, focus on keeping your head at the same level—imagine you’re moving under a low ceiling. This will train you to keep your knees bent and hips engaged.
- Wall Sits: Build isometric strength in your quadriceps to make holding the athletic stance feel effortless. With your back against a wall, lower yourself until your thighs are parallel to the floor and hold for 30-60 seconds.
Key Takeaways for Injury-Free Movement
- Always Stay Low: Your power and safety originate from a low athletic stance. Bent knees allow your muscles, not your joints, to absorb impact.
- Shuffle for Short Distances: Push with the back leg, lead with the front. Never let your feet touch.
- Crossover for Long Distances: Pivot your hips and drive your back leg across your body to initiate a sprint.
- Move Your Feet to the Ball: If you feel yourself reaching with a straight leg, it’s a signal that your footwork failed first. Get your body into position before you attempt the shot.
By replacing inefficient habits with sound biomechanics, you will improve your speed, enhance your power, and ensure that knee pain no longer dictates how you play.
Leave a Reply